Every time the word Negative comes before the word Supply in the same sentence as the phrase “Film Carrier” someone is going to complain that the products from Negative Supply are too expensive. My main argument for this article is that even though $329 for a film carrier seems expensive at first glance when you consider your time and other options, the peanut gallery is doing silly math (1).
Assuming that I can get equal or better quality negative scans, my math is that scanning at home is worthwhile if it saves me time AND if it is less expensive in the long run than sending to a lab.
This math means that flatbed scanners are a nonstarter. I used them in the past and it looks like the technology is stuck in 1998. They didn’t save me time back then and they don’t look like they will save me time now.
That leaves DSLR negative scanning as my only option. Initially, when I was looking into my options, I put off by all of the YouTube videos where the reviewer used flimsy negative film holders and the scanning process was laughably inefficient. The commenters routinely sat there fighting and fiddling with flimsy negative holder products warning viewers about all of the issues and pitfalls of using them such as keeping the negatives flat, dust, refocusing the lens after each image, etc. Flimsy negative film holders were also a nonstarter for me.
Then along comes Sir Robin who was out there saying that he can scan a roll of film in like 2 minutes. This piqued my interest but in the comments on his video, I found a crapton of hate including gems like ”Waaay too expensive,” Laughed my head off when I saw the price,” and the every popular “looking at my wallet. My wallet looks back with an angry face.” I looked at the price of the Negative Supply Film Carrier and I was thinking $329 vs 2 minutes? The peanut gallery is doing silly math.
The math behind DSLR scanning negatives at home Part 1: Time savings?
It is important to remember that sending negatives to a lab for processing involves a non-negligible time commitment even if all you are doing is going to the post office to mail your film. I got all Rain Man with this project and literally timed how long it took me to go to the post office, mail something, and come back. In my situation, even with a scooter weaving in and out of traffic, my post office test resulted in a non-negligible 18 minutes of wasted time. The other option I have is to drive to the local lab but that is a minimum of a one hour round trip.
Knowing all of this, for DSLR scanning to make sense for me, I would need to be able to scan a roll of film in less than 18 minutes for this scanning business to be worth my time. Whatever Sir Robin was doing was my only option at the time of writing this article in late 2020.
Not that I dont trust Sir Robin but I called the Cinestill folks for a second opinion. Although they sell the Negative Supply Film Carrier, I figured they had no real skin in the game since they also sold other products and this was not their main business. I also trusted them based on past recommendations for other things. They said that in their tests they can scan a roll in 3 minutes. 3 minutes is also better than 18 minutes. The math says that using something like the Negative Supply Film Carrier is at least worth a look.
The one area that this time savings business falls apart is if you are shooting loads and loads of film. In that case, you are probably either having a client pay for your scans or you are independantly weatlthy so this whole discussion is likely a moot point. I only shoot a few rolls at a time so that is not my situation.
Given my situation, with time savings established, this brings us to the second part of the equation and the real reason I wrote this article. Is DSLR scanning with the Negative Supply Film Carrier cost-effective?
The math behind scanning negatives at home Part 2: Cost Savings?
As I mentioned before, if you read the comments on every YouTube, Reddit, and forum post, you would be lead to believe that the NS Film Carrier is a luxury item that is only viable for the most fannish of all Leica Fanboboys. The amount of vitriol thrown at this film carrier (and the Negative Supply folks in general) is astonishing when you consider that if it works as advertised, at some point it will pay for itself when compared to sending to a lab. The smart math is to determine that breakpoint and then determine if it is cost-effective.
The math error that the detractors seem to be making is that they erroneously compare $329.00 to not spending anything at all. If you make that mistake, $329.00 seems expensive but that isn’t the math you should be doing. Good math compares one thing to another thing of equal or similar value. Your good math comparisons are comparisons to 1) sending your film to a lab and 2) buying something else to help you do the scans at home. That was the math I did when I was considering the costs associated with home film negative scanning. You can download my cost analysis at this link. In that spreadsheet I compare a few scenarios:
- Scenario 1 compares getting the basic Negative Supply Film Carrier vs sending it to a lab. My lab charges $15.00 for quality scans. It would take me 38 rolls of film to pay off the investment in the Negative Supply Film Carrier vs sending my negatives to my chosen lab for scanning. This is an important number to know because this number tells you whether or not you should invest in scanning at home at all. If you won’t be doing 38 rolls any time soon maybe you should just send your stuff to the lab?
- Scenario 2: This is the one that you really need to consider because it demonstrates the silly math of complaining about the expenses of the Negative Supply Film Carrier. In this scenario, we are assuming that you are committed to scanning at home and you have some sort of DSLR or mirrorless camera. If so, you really only need to buy something to hold your negatives and a copy stand. I went DIY on the copy stand and those costs are included in the spreadsheet. In the analysis, I compare the NS Film Carrier to its closest competitor which, from what I can tell at the time of writing in 2020, is the Skier sunray copy box. This isn’t an exact apples to apples comparison because the functionality isn’t the same. Although I haven’t used it, from what I can tell, you still need to fiddle with the negatives so you won’t have the time savings of the NS Film Carrier. Nonetheless, I had to pick something for comparison so let’s just assume they are close enough (even though they aren’t). In this analysis, the Negative Supply carrier pays for itself after just 14 rolls of film when compared to it’s closest competitor. If you are going to shoot 14 rolls of film in the near future and you are going to scan at home, the negative supply carrier, all of a sudden, isn’t that expensive now is it? Another way to look at this is that the Negative Supply Film Holder only costs the difference between it’s nearest competitor. Looking at things that way, the NS Film Carrier actually only costs $208.00. Right?
- Scenario 3: Using a janky, flimsy, inefficient negative holder wasn’t an option for me since I have a real job, a wife I don’t want to ignore so I can fiddle with negatives, a dog that needs to be taken out to poop, waves that need to get surfed, roads that need to get ridden, pictures that need to get taken, and I also don’t hate myself enough to subject myself to the pain of fiddling with negatives. If, however, you have all the time in the world, you hate yourself enough to fiddle with plastic holders, and you haven’t learned how to value your time, it is still silly math to fight with one of the plastic negative holders because those holders are not free. My math says the negative lab film holder still pays for itself after about 19 rolls.
- Scenario 4: This scenario compares the higher end Negative Supply Film carrier + Pro Mount. The Pro Mount and dust remover don’t seem mandatory but now you know that it will take you almost 50 rolls of film if you go all-in when compared to sending to a lab.
- Scenarios 5 and 6: This whole business of DSLR scanning falls apart if you don’t actually own a DSLR. These scenarios are examples of the costs you would incur if you have to buy a digital camera and macro lens to do scans. They don’t really have anything to do with this article but they are there if you want to plug in some numbers. I dont really know how good of a camera you need or how good of a lens you need. You are going to have to do your research. Don’t trust my numbers in these columns. I was pulling numbers out of thin air.
Based on all of this, it seems to me that if you are going to shoot more than 37 rolls of film in your lifetime, and you won’t be needing dozens of rolls scanned at once, DSLR scanning at home is worth a look. It also seems to me that if you are committed to DSLR scanning for any reason it is time to stop saying that the Negative Film Carrier is too expensive or your wallet is staring angrily at you. The smart math says it pays for itself after a few rolls when compared to it’s closest competitor. Anything else is silly math.
Should you scan your own negatives? Part Deux.
I have no idea what you should do. I do know, however, that I can scan an entire roll of film in 5.25 minutes. That is not as fast as Sir Robin but maybe he does secret training sessions that he is not telling us about. I also know that the Negative Lab Pro software is so incredibly easy to use that I only have a maximum of 15 minutes of additional processing time even if all of the images on a roll are taken at different places at different times. If you have Lightroom, fingers, and you are smarter than a Chihuahua with hydrocephalus (2) you can do this. I didn’t even read the directions for the software and I was getting better scans than one of the online labs and equal quality to another. Wait What????
To my eyes, my DSLR negative scanning results are better or equal than the scans I was getting from a well known national lab.
Pictures to follow but for now, there are a few things to remember:
- I am using a high res camera (A7RIII). My files are 7327 x 5070px. The labs files are 3089 x 2048px. More pixels are not always better but in this case, more is better. This is especially true if you will ever go super hipster and get a half frame camera.
- I am finding that I can overexpose the scanned negative to pull some of the life out of the shadows that were not present in the scans I sent out to the lab. I am sure they are busy and they automate things. I care more about my own stuff. This is to be expected.
- To my eyes, the processing is just better and the images are sharper than I was getting from that national lab. I contend that nobody would disagree that the quality of my scans is at least equal to what I was getting from that national lab.
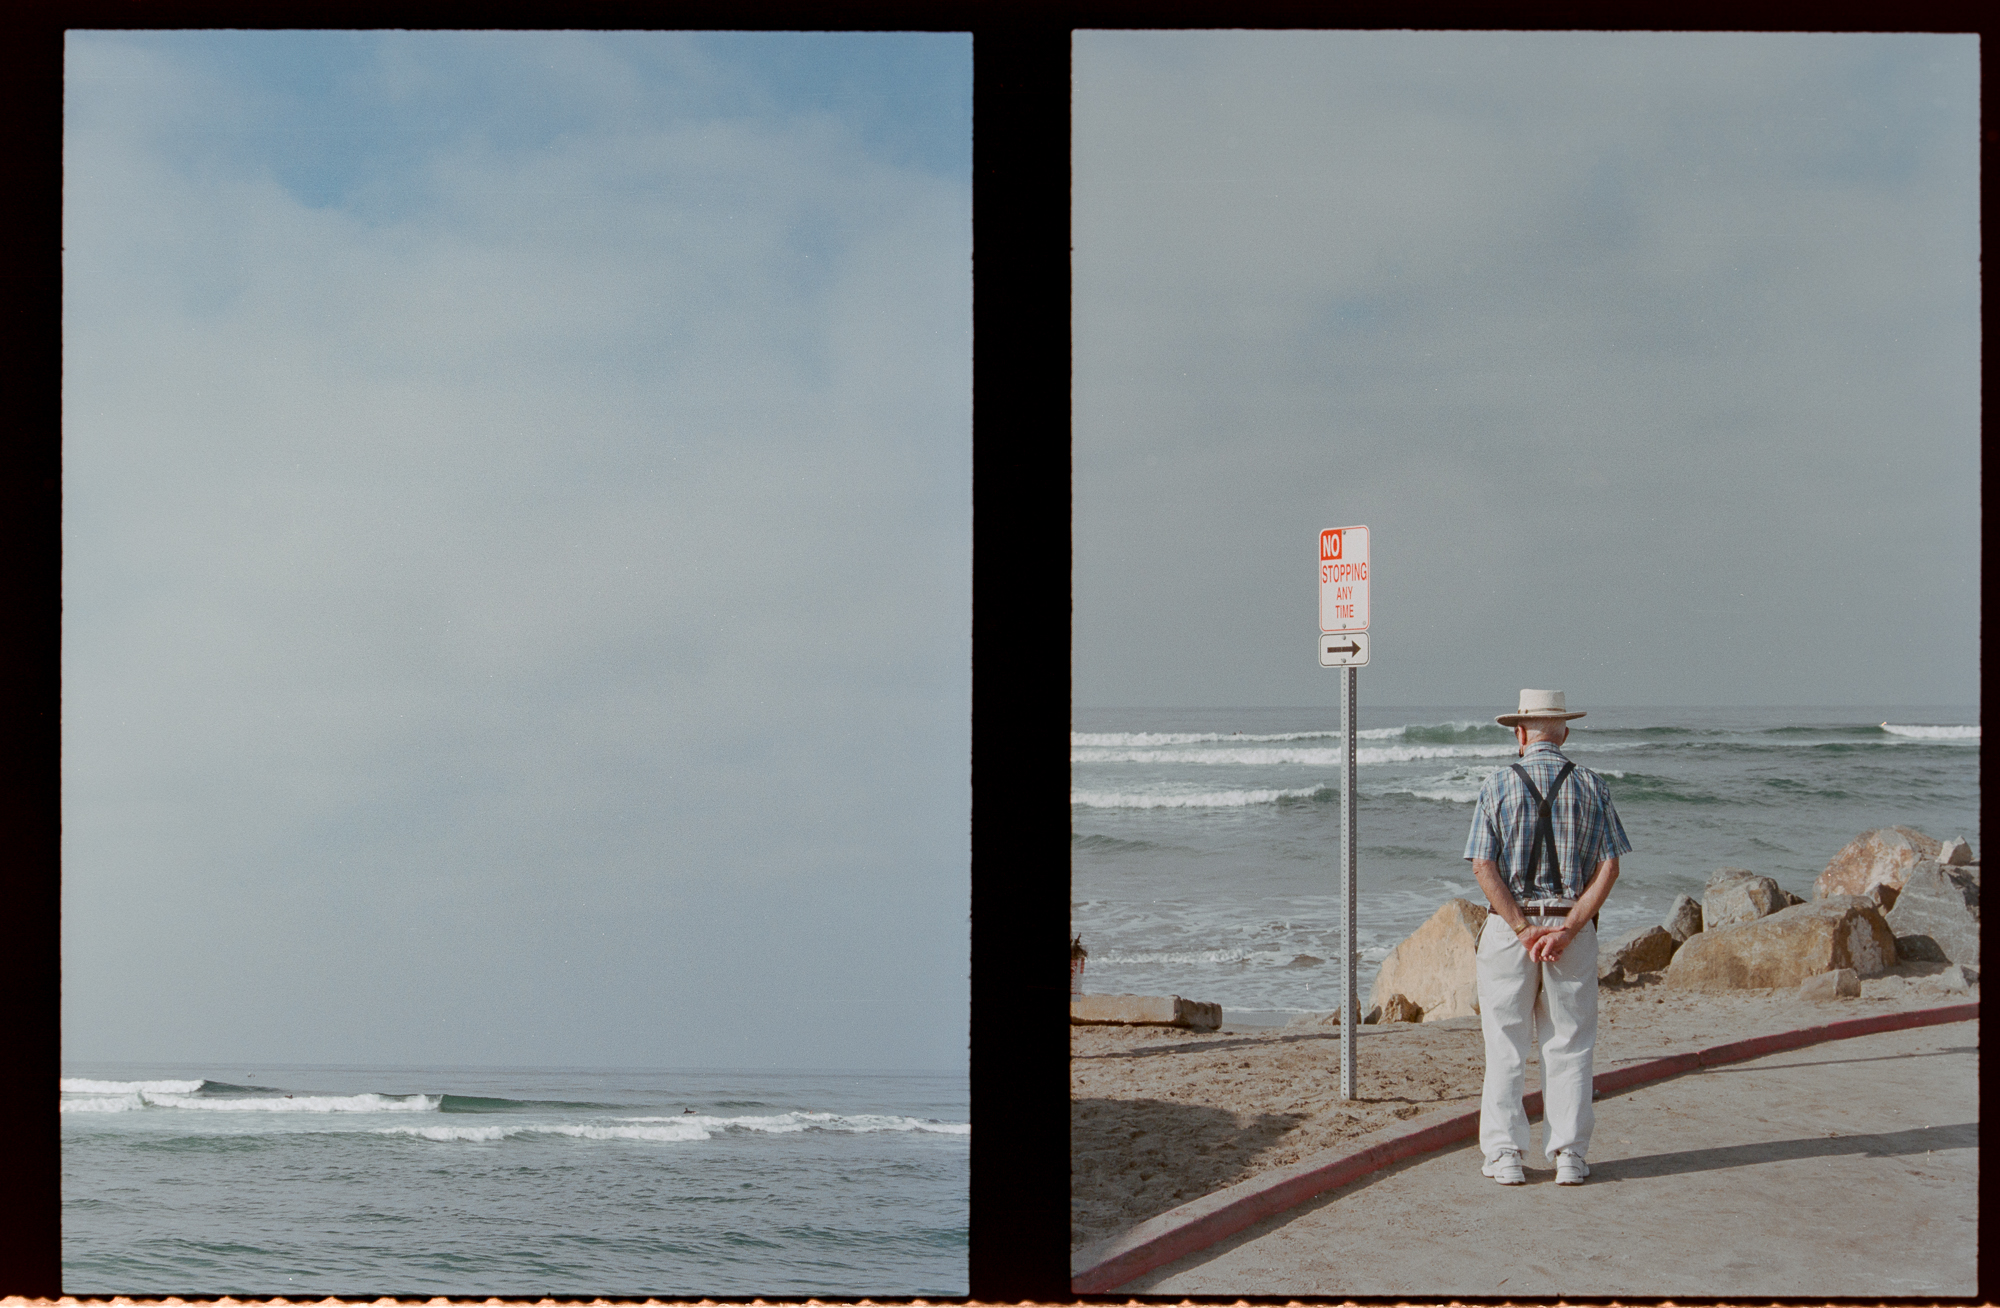
Here is a sample image comparison. The lab scan is first. My scan is second. My scan has the film border.
 The Bottom Line
The Negative Supply Film Carrier isn’t as expensive as you would think if you read the comments on YouTube. Saying something is expensive without doing an apples to apples comparison is silly math. If you already own a digital camera, when compared to its closest competitor, the Negative Film Supply film carrier pays for itself after only a few rolls of film, using it is faster than sending it out to a lab (even if all you do is go to the post office to mail the negatives), and the quality of DSLR scans is at least equal to one national lab.
Lets the vitriol commence….#Negativesupplyfanboy
Yes, I am aware I still need to get my film developed:
It is probably worth mentioning that, yes, I am fully aware that this analysis is completely stupid if I still need to send my film out for processing. In my situation, there is a wild card that I didn’t mention. There is also a lab here in town I can use that develops films perfectly well but I don’t like their scans. They are right up the street so I can use them for processing. I don’t even consider the time it takes to go there since I go past there every day anyway. I am also looking into processing at home but that is a story for another post. Without either of those two options, I agree, this analysis falls apart and is kind of stupid. I don’t see the benefit of home scanning if you need to spend time and money sending your film out for processing and then waiting like two weeks for the roundtrip to get your negatives back so you can scan them at home. It seems to me that developing at home is likely a requirement if you are going to maximize the ROI from home negative scanning.
NOTES:
* This assumes that you own a digital camera and you are comparing the NS Film Carrier to its closest competitor.
- Full disclosure. I have nothing to disclose. I purchased my unit at retail from Cinestill. I have no relationship with Cinestill or Negative Supply. This article was shown to Negative Supply and Cinestill after publishing but before promoting just in case they objected and/or wanted to comment. They didn’t.
- There was a time where I was public enemy #1 for chihuahuas with hydrocephalus. There was a band of chihuahua breeders out to get my license for commenting that chihuahuas are not the smartest tools in the shed. They were relentless but I was able to weather the storm. NOTE: most chihuahuas have hydrocephalus. That is why they have a dome head. Now you know.#cantstopwontstop
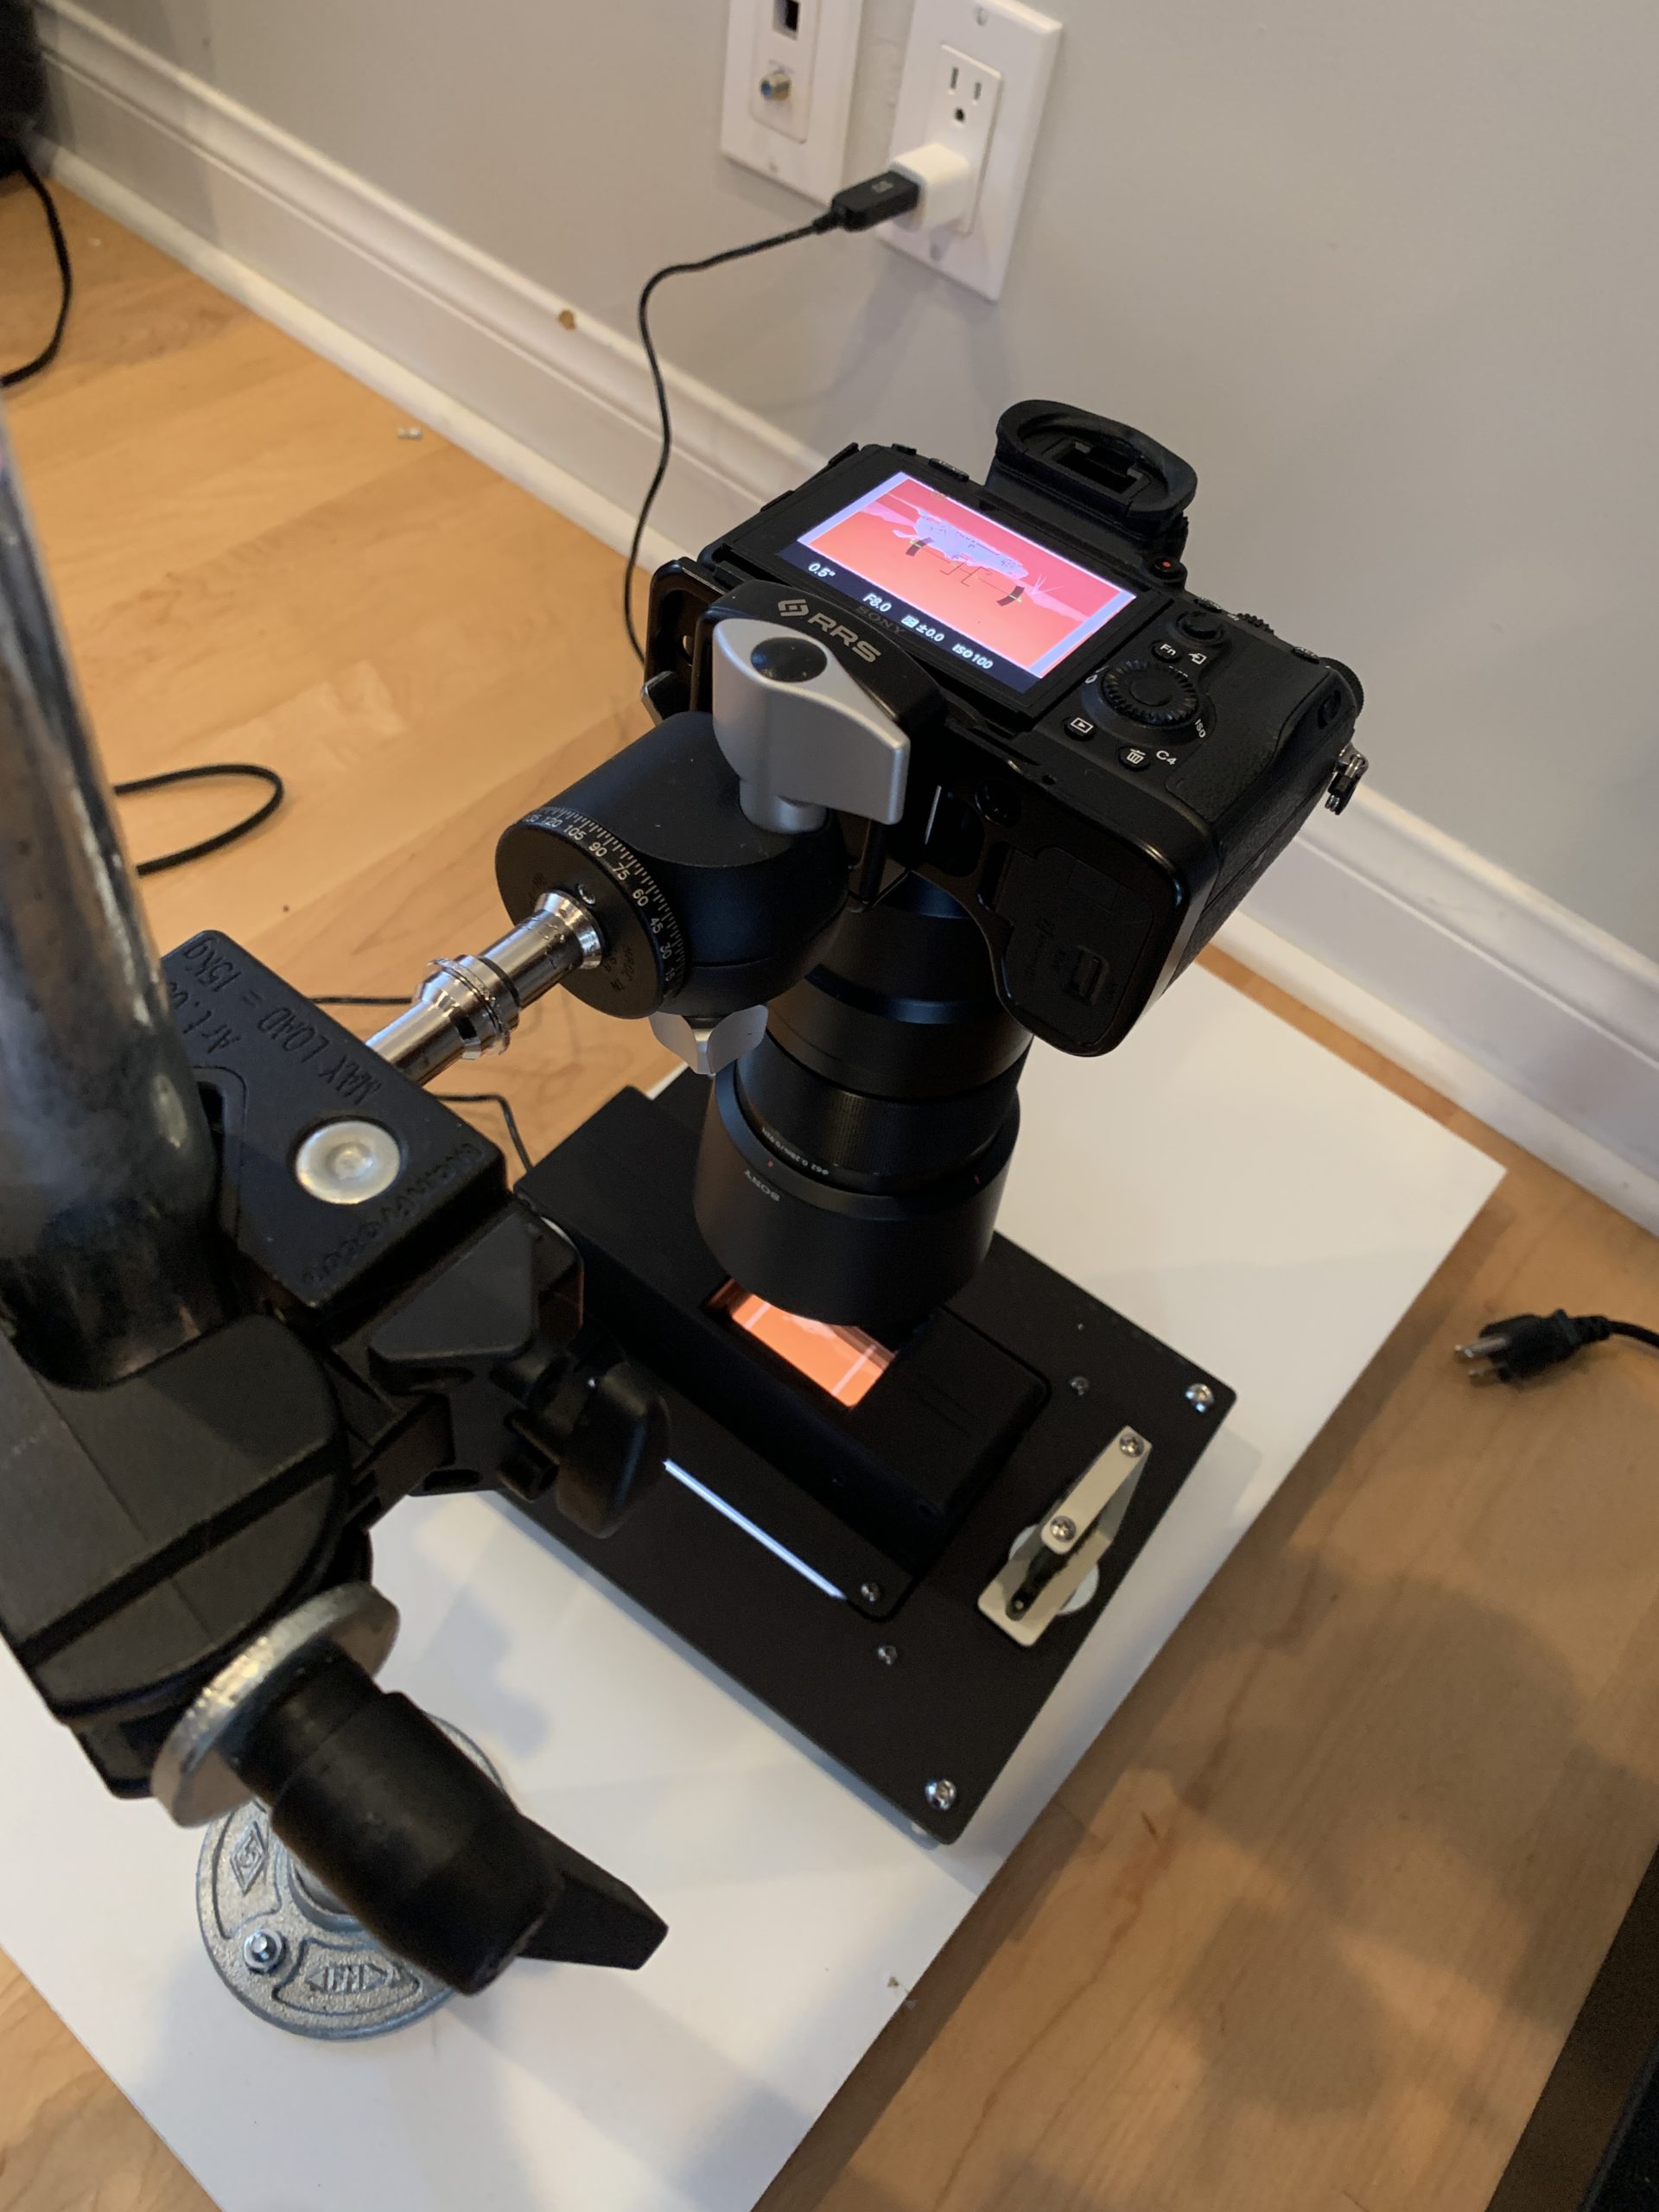
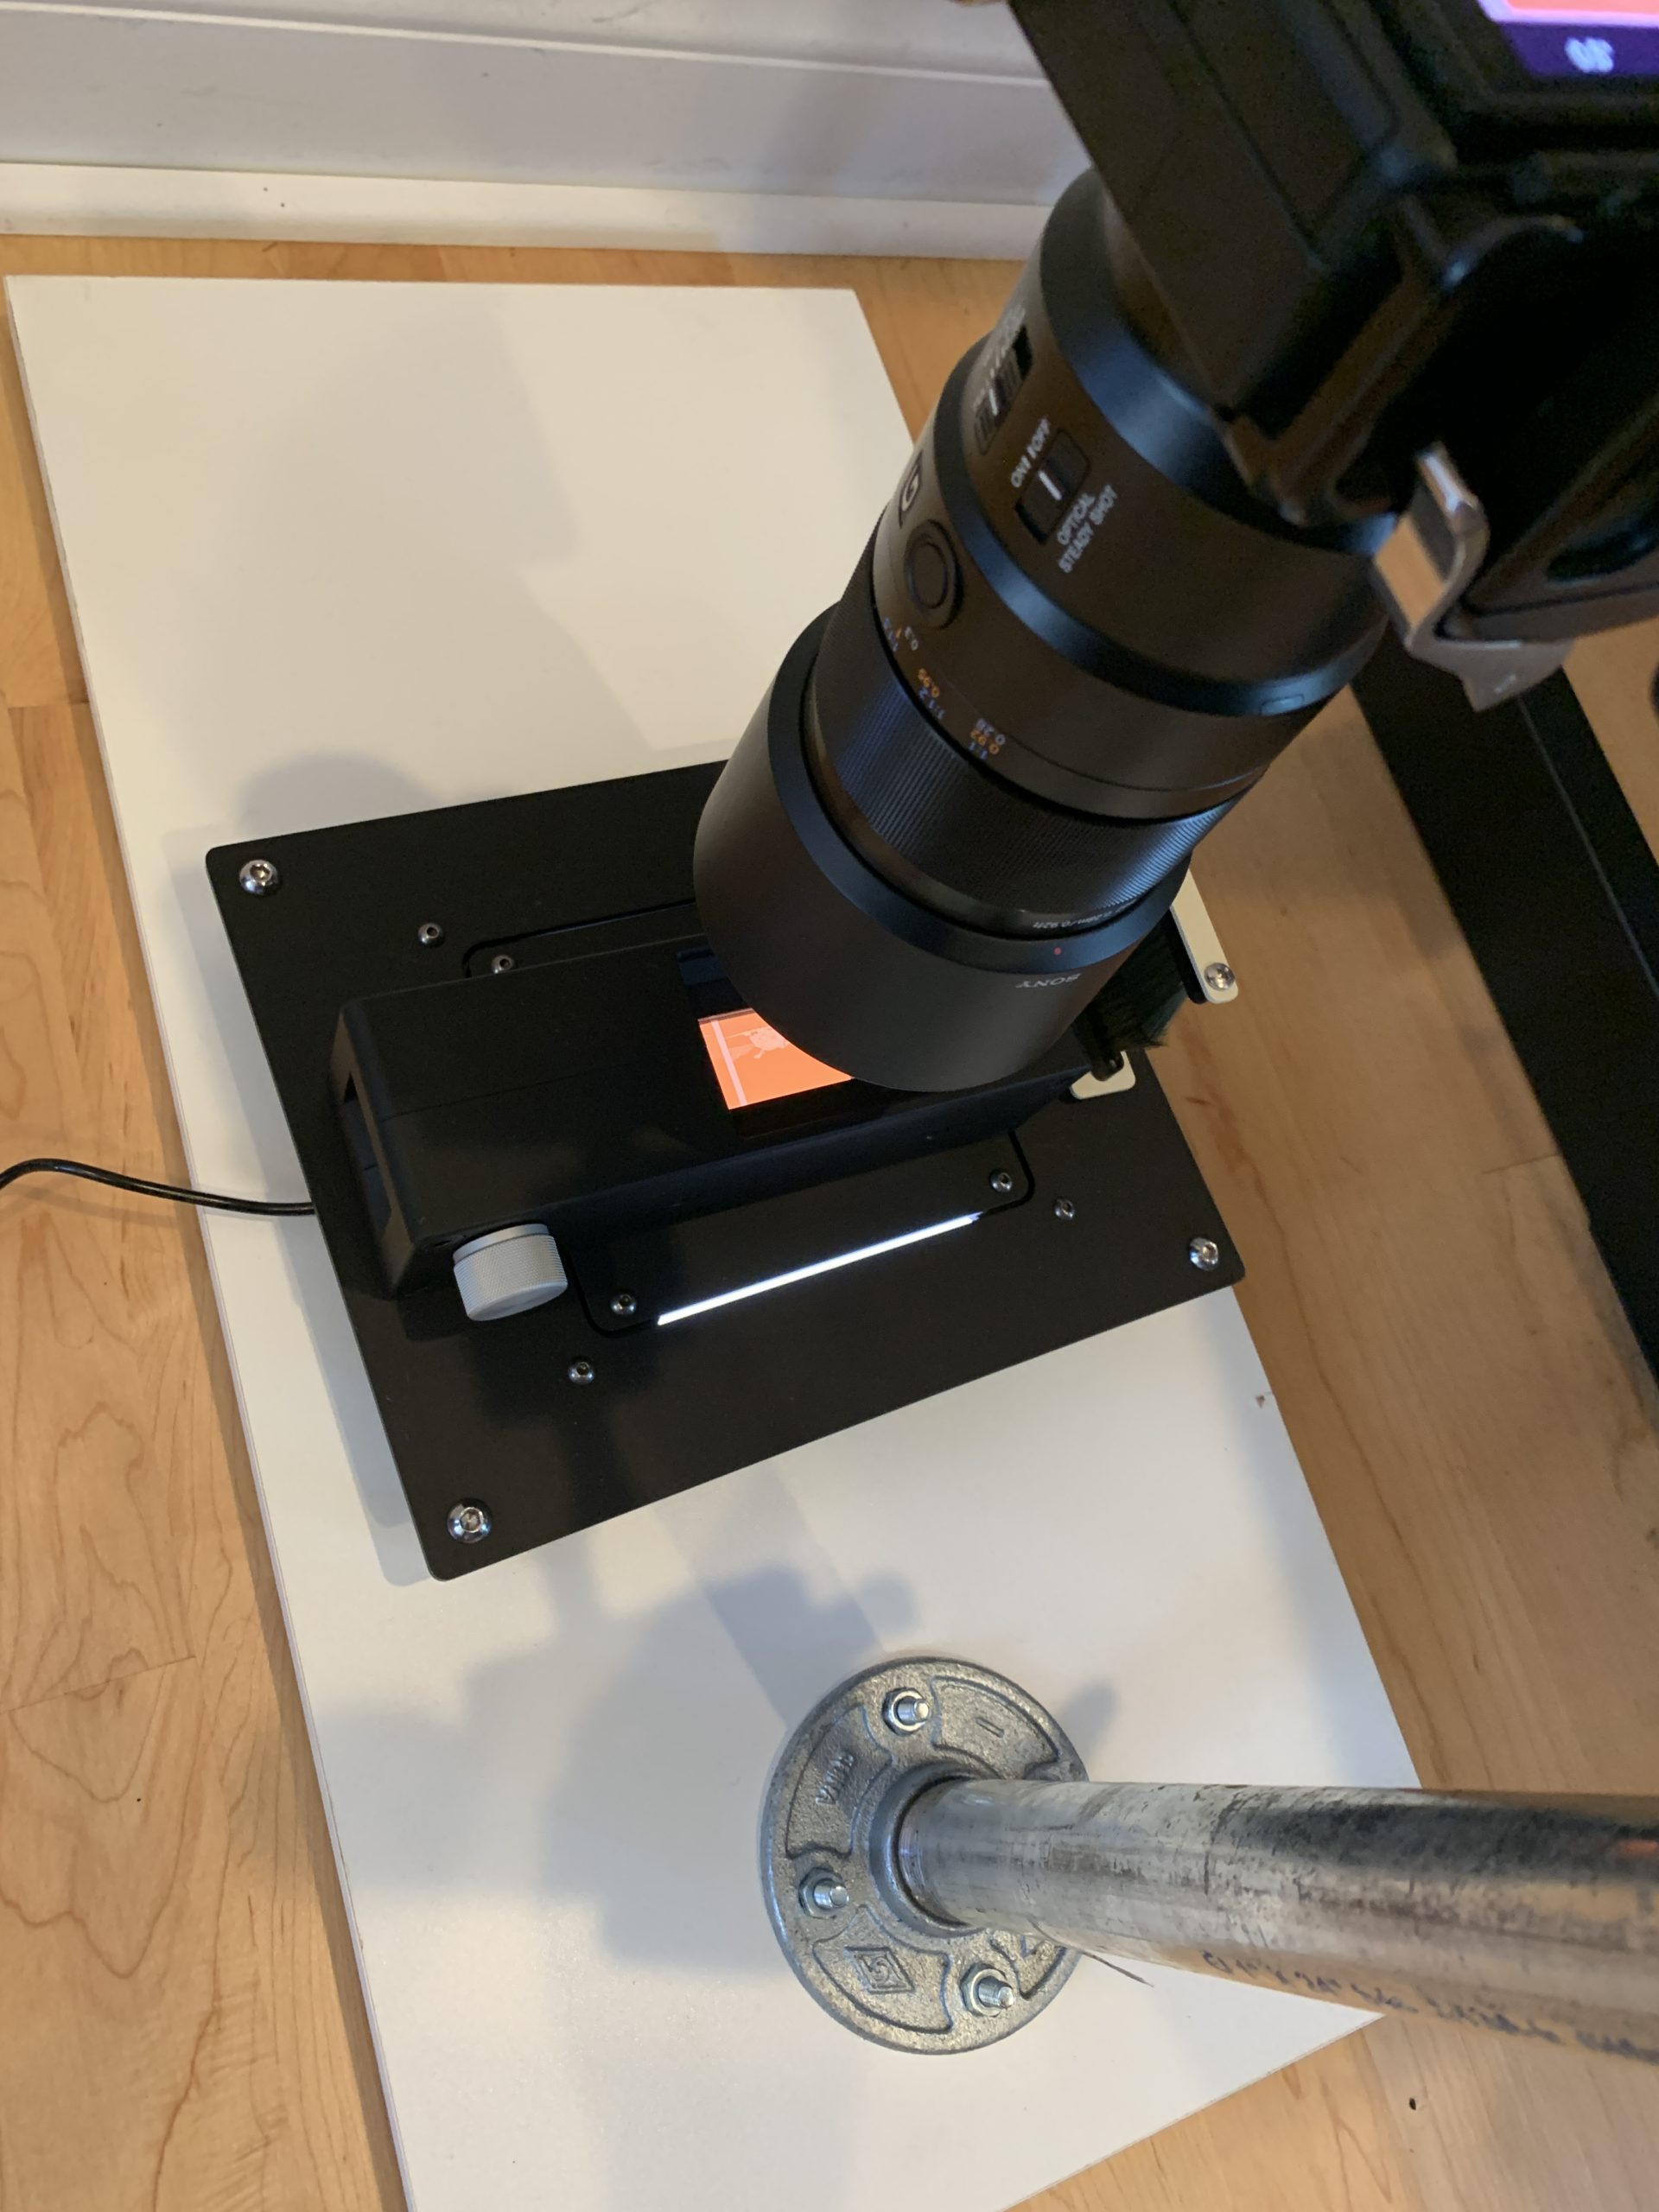
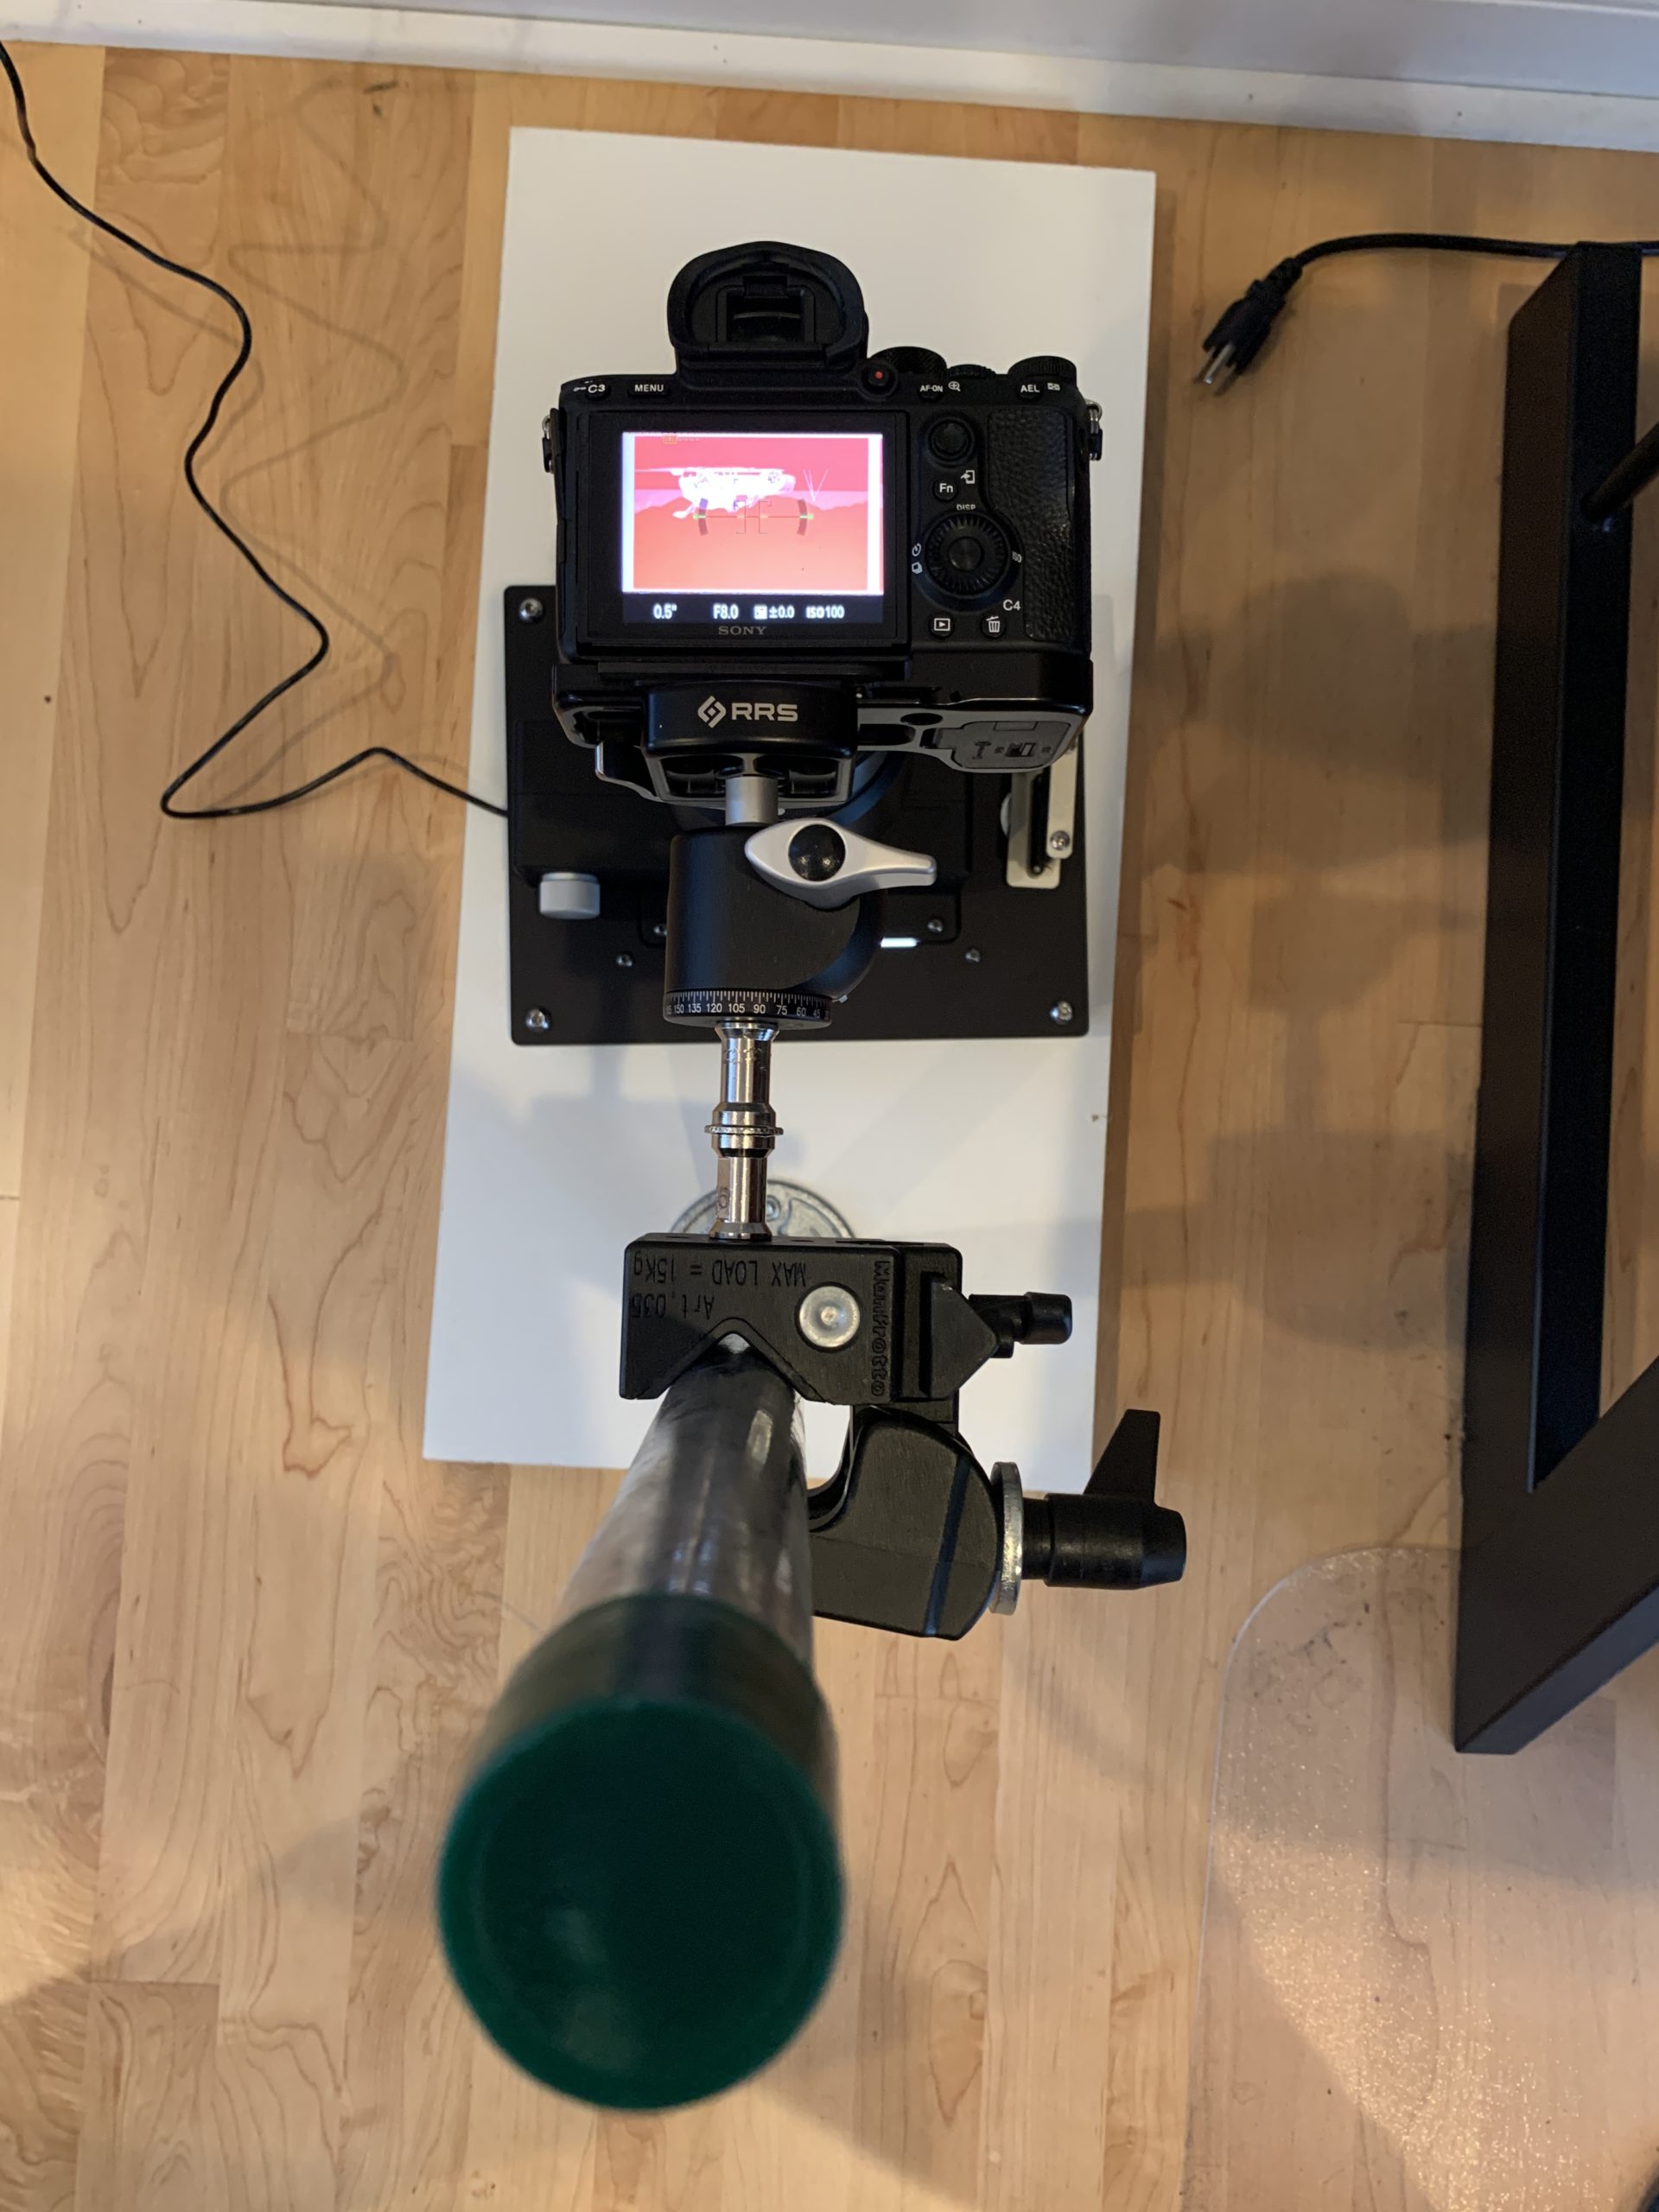
Appendix: My scanning setup
I looked into buying a copy stand. The inexpensive ones seemed flimsy and the expensive ones seemed like overkill. If you want to replicate my setup you will need:
- One piece of melamine board
- One piece of one-inch plumbers pipe. 24 inch pipe will work for a 90mm macro lens. You might need longer or could go shorter depending on your focal length. All I know is what works for a 90mm macro.
- Four 1/4 x 1.5 inch bolts
- Four 1.4 inch nuts
- Four pieces of felt. The felt is there to raise the entire rig off of the floor so it doesn’t wobble on the bolt heads which stick out of the bottom
- One plumber’s base thingy. I don’t really know the name of the metal thing that holds the pipe but every home improvement store has them
- One Manfrotto clamp (or similar) to hold the camera
- One adapter to hold the camera to the clamp
- A tripod ball head. I have a nice one. Any tripod ball head, even the cheapest one you can find, should work just fine.
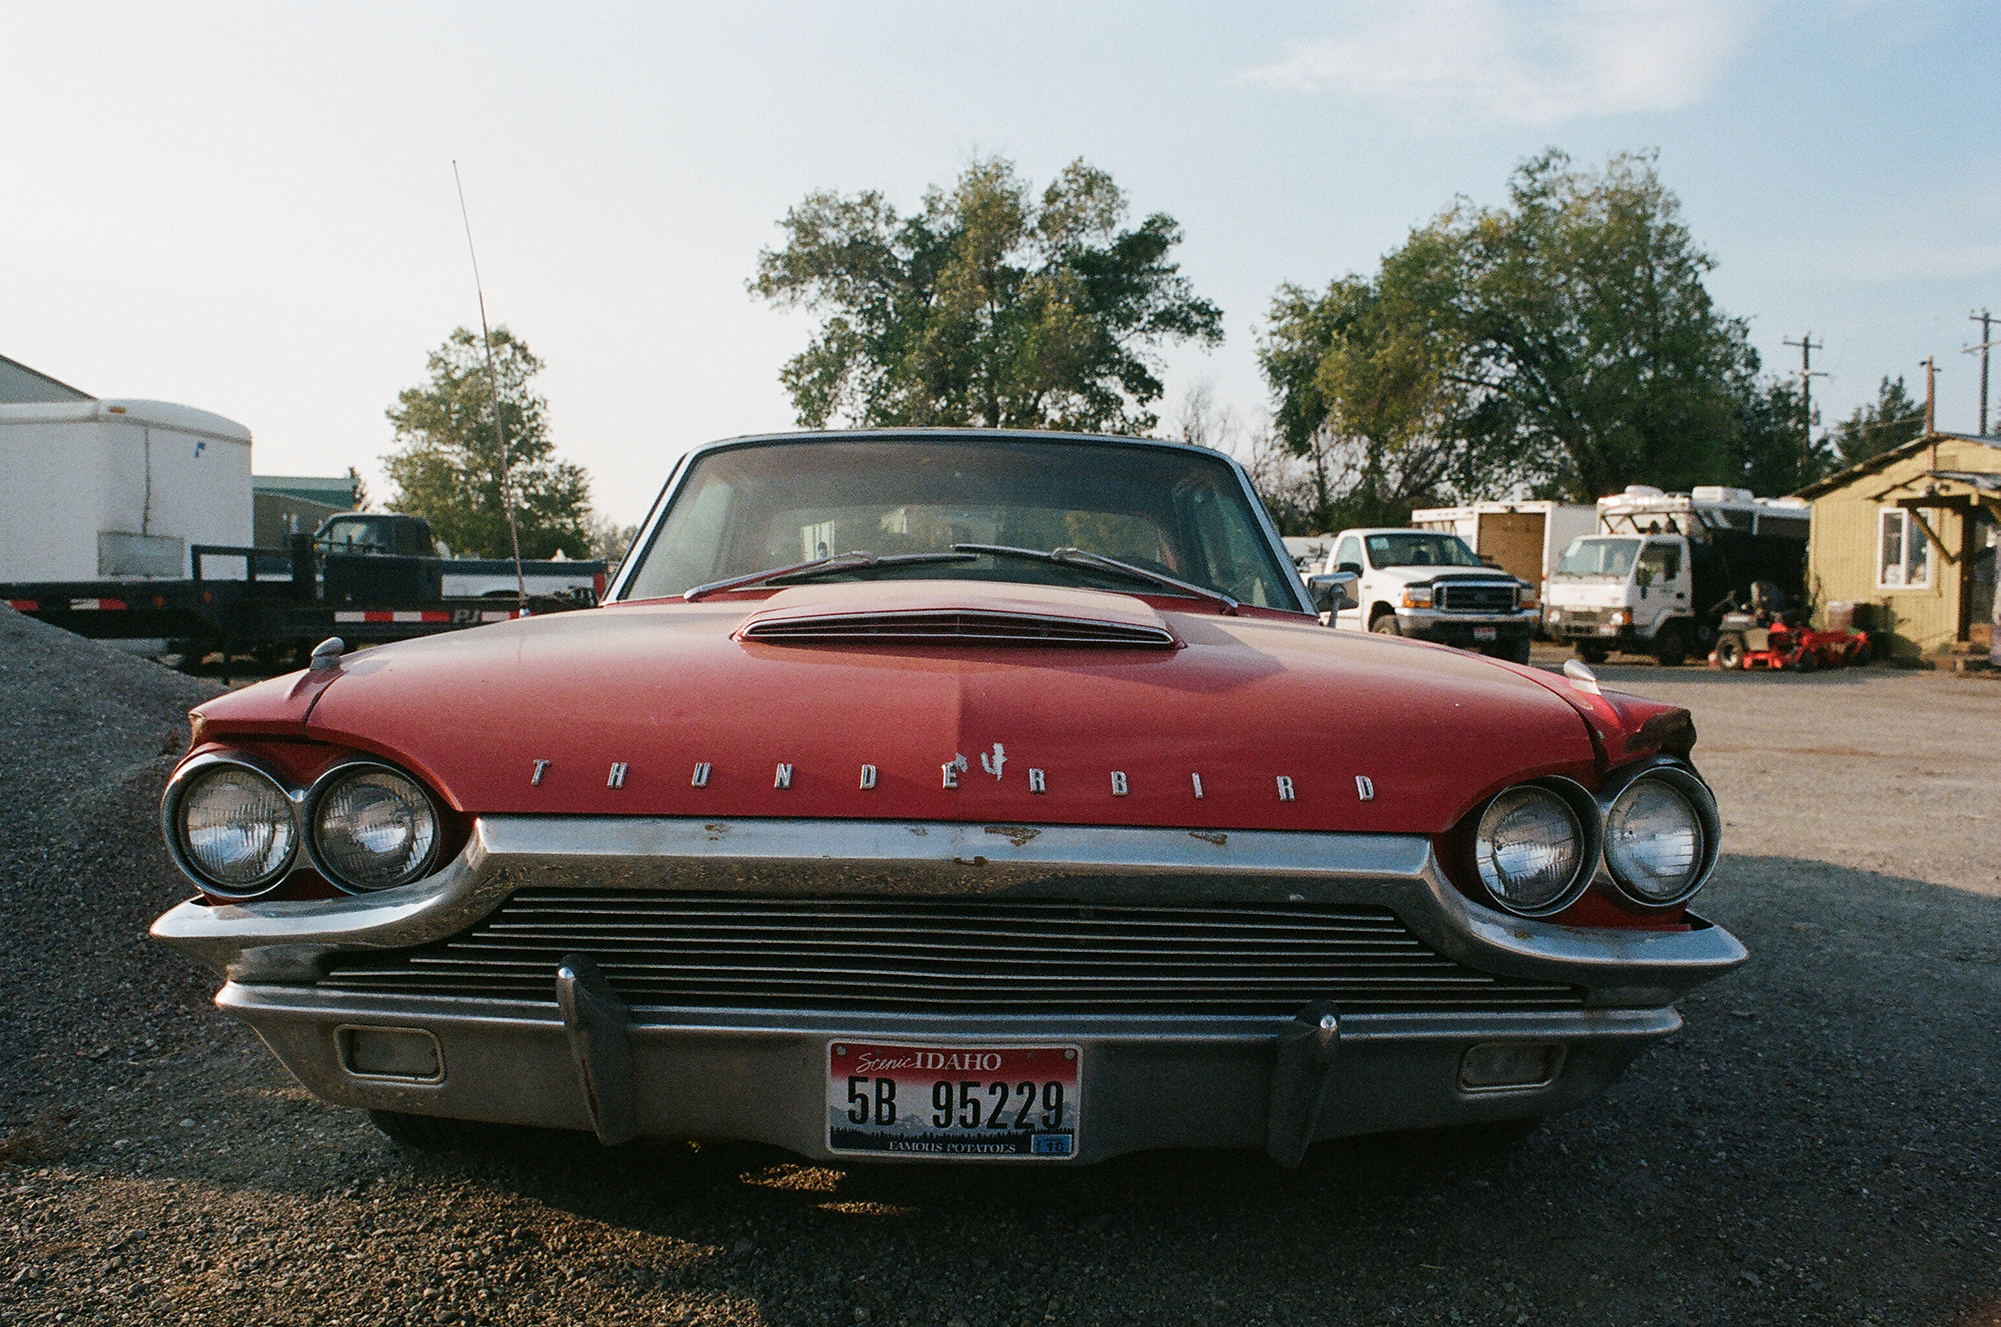
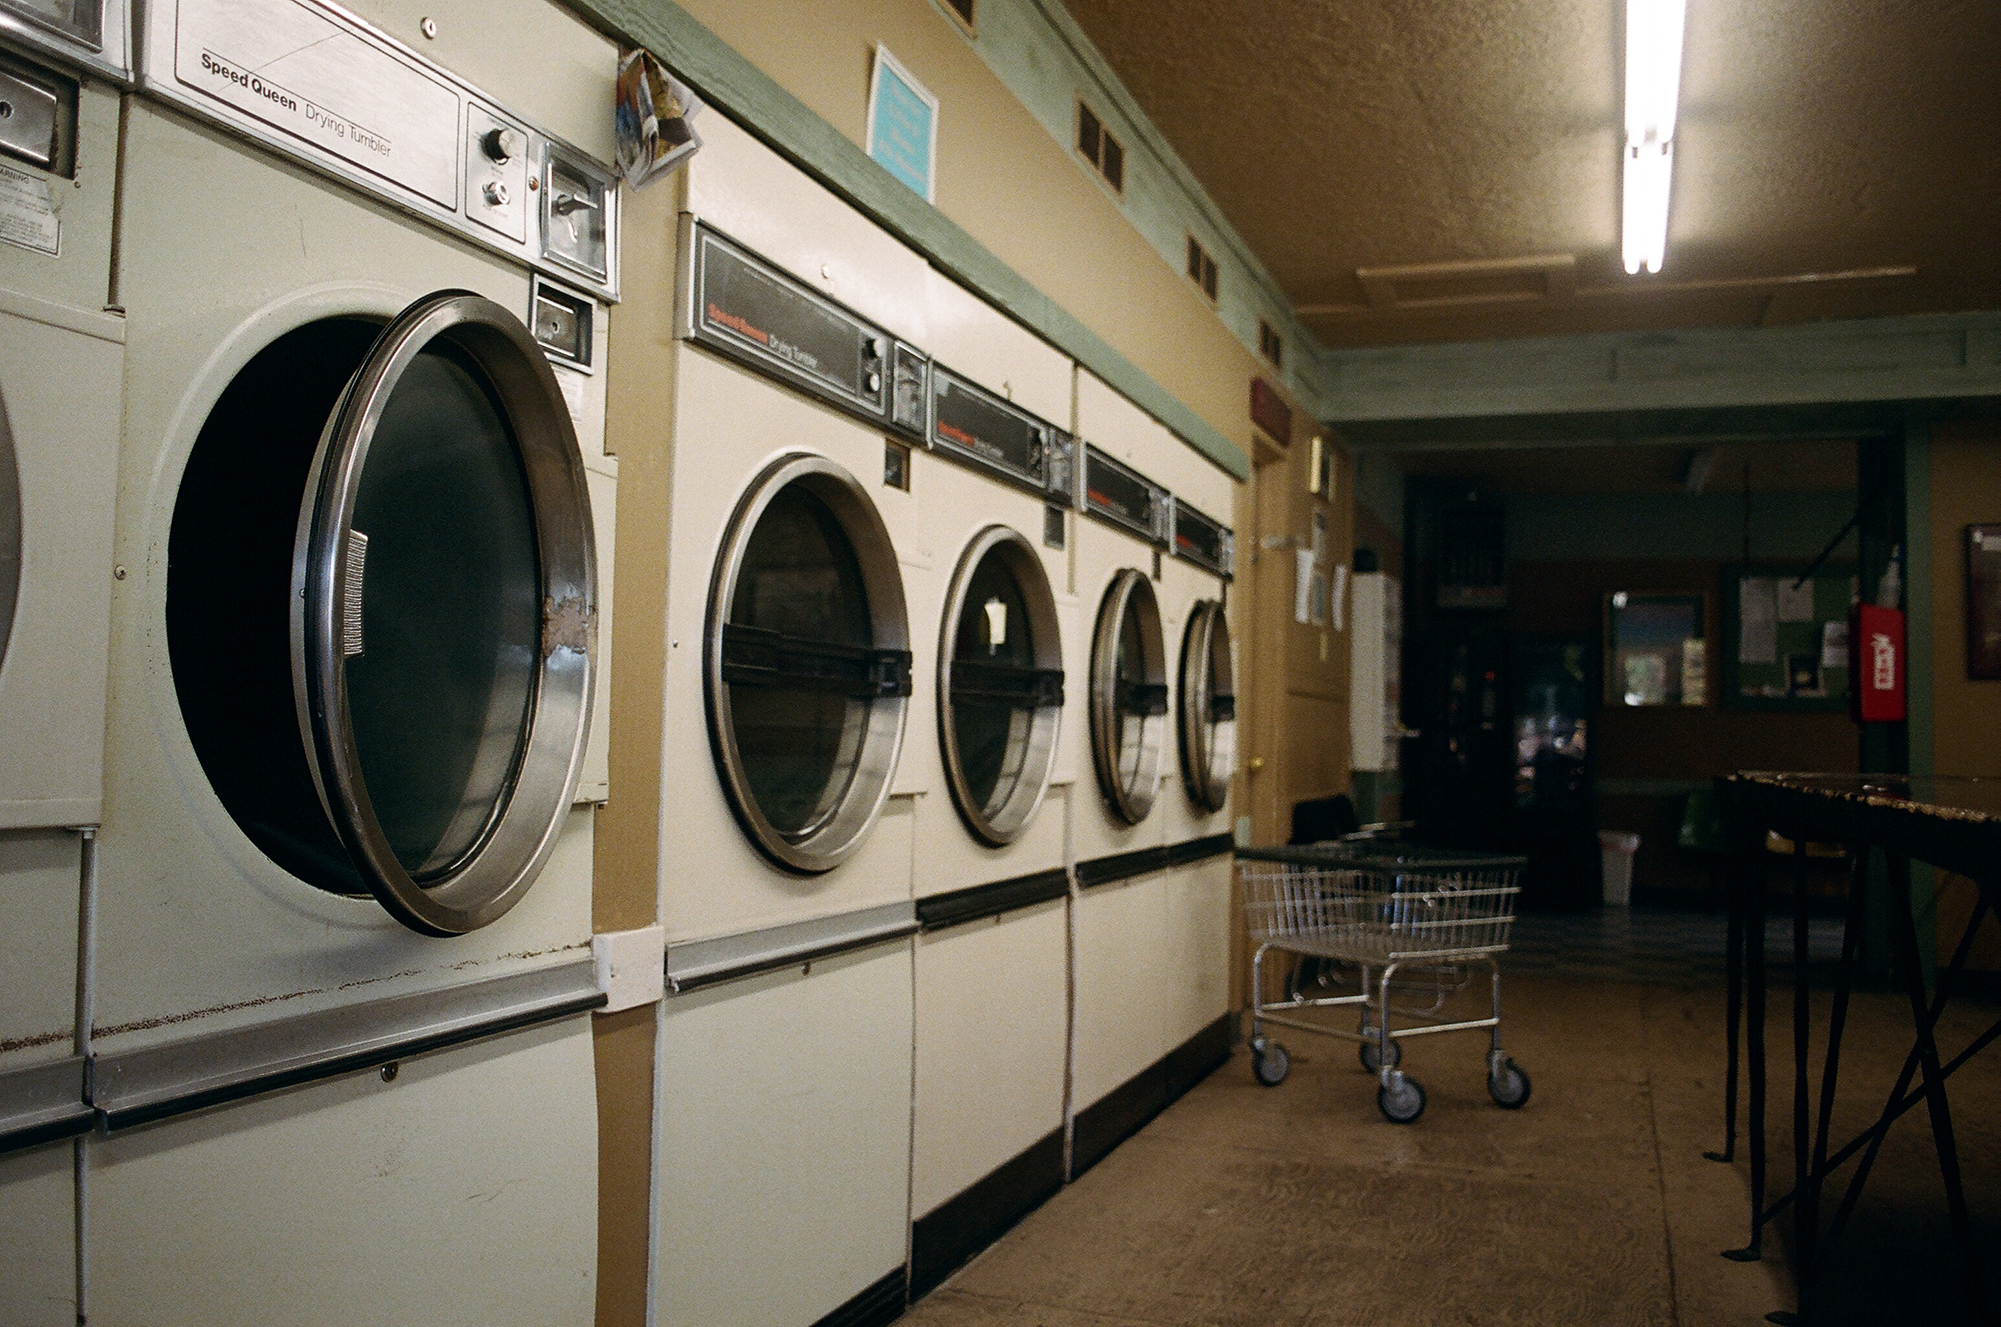
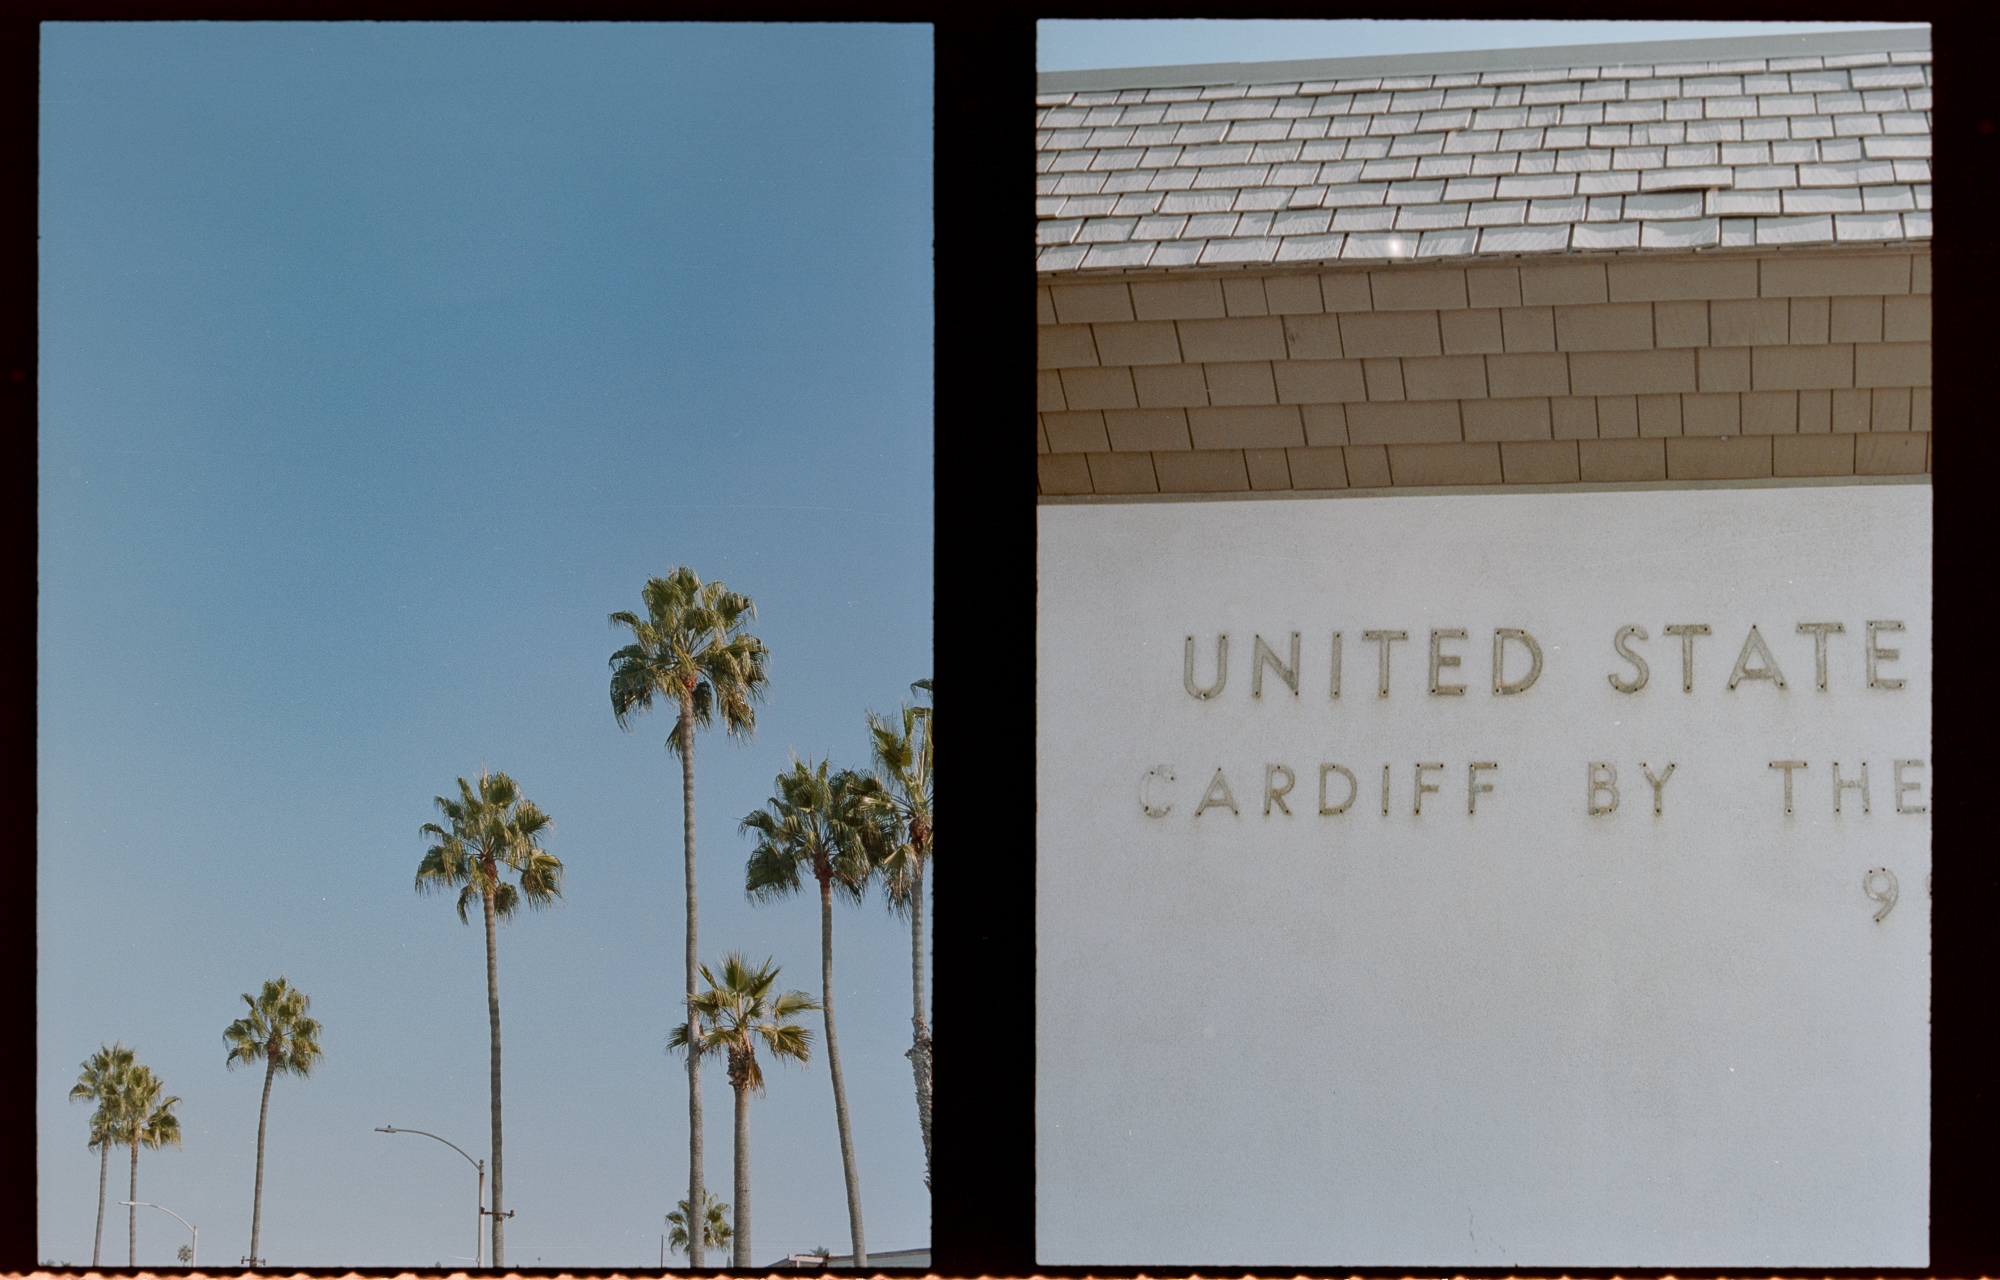
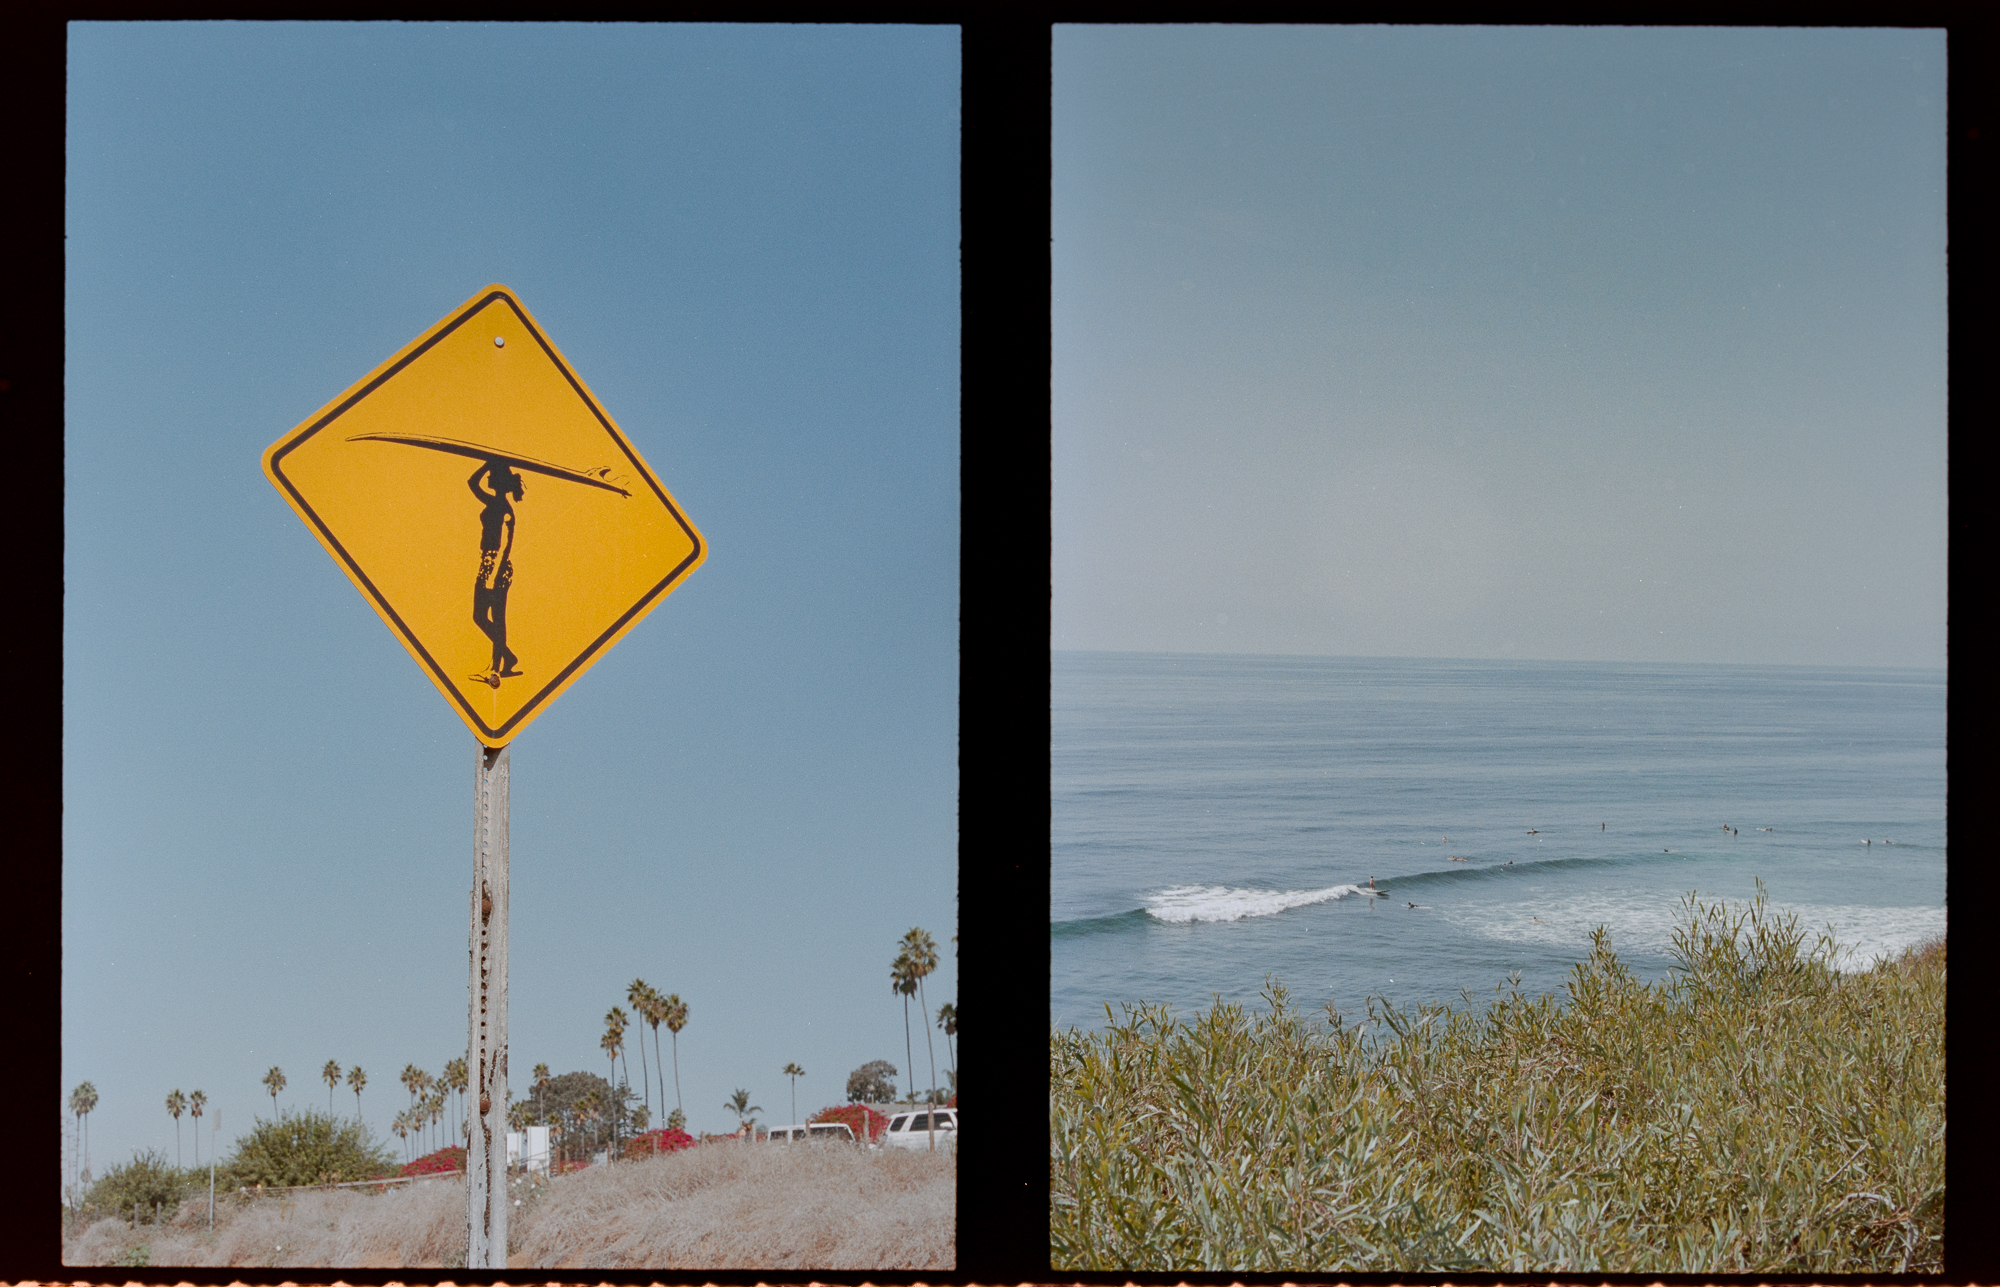
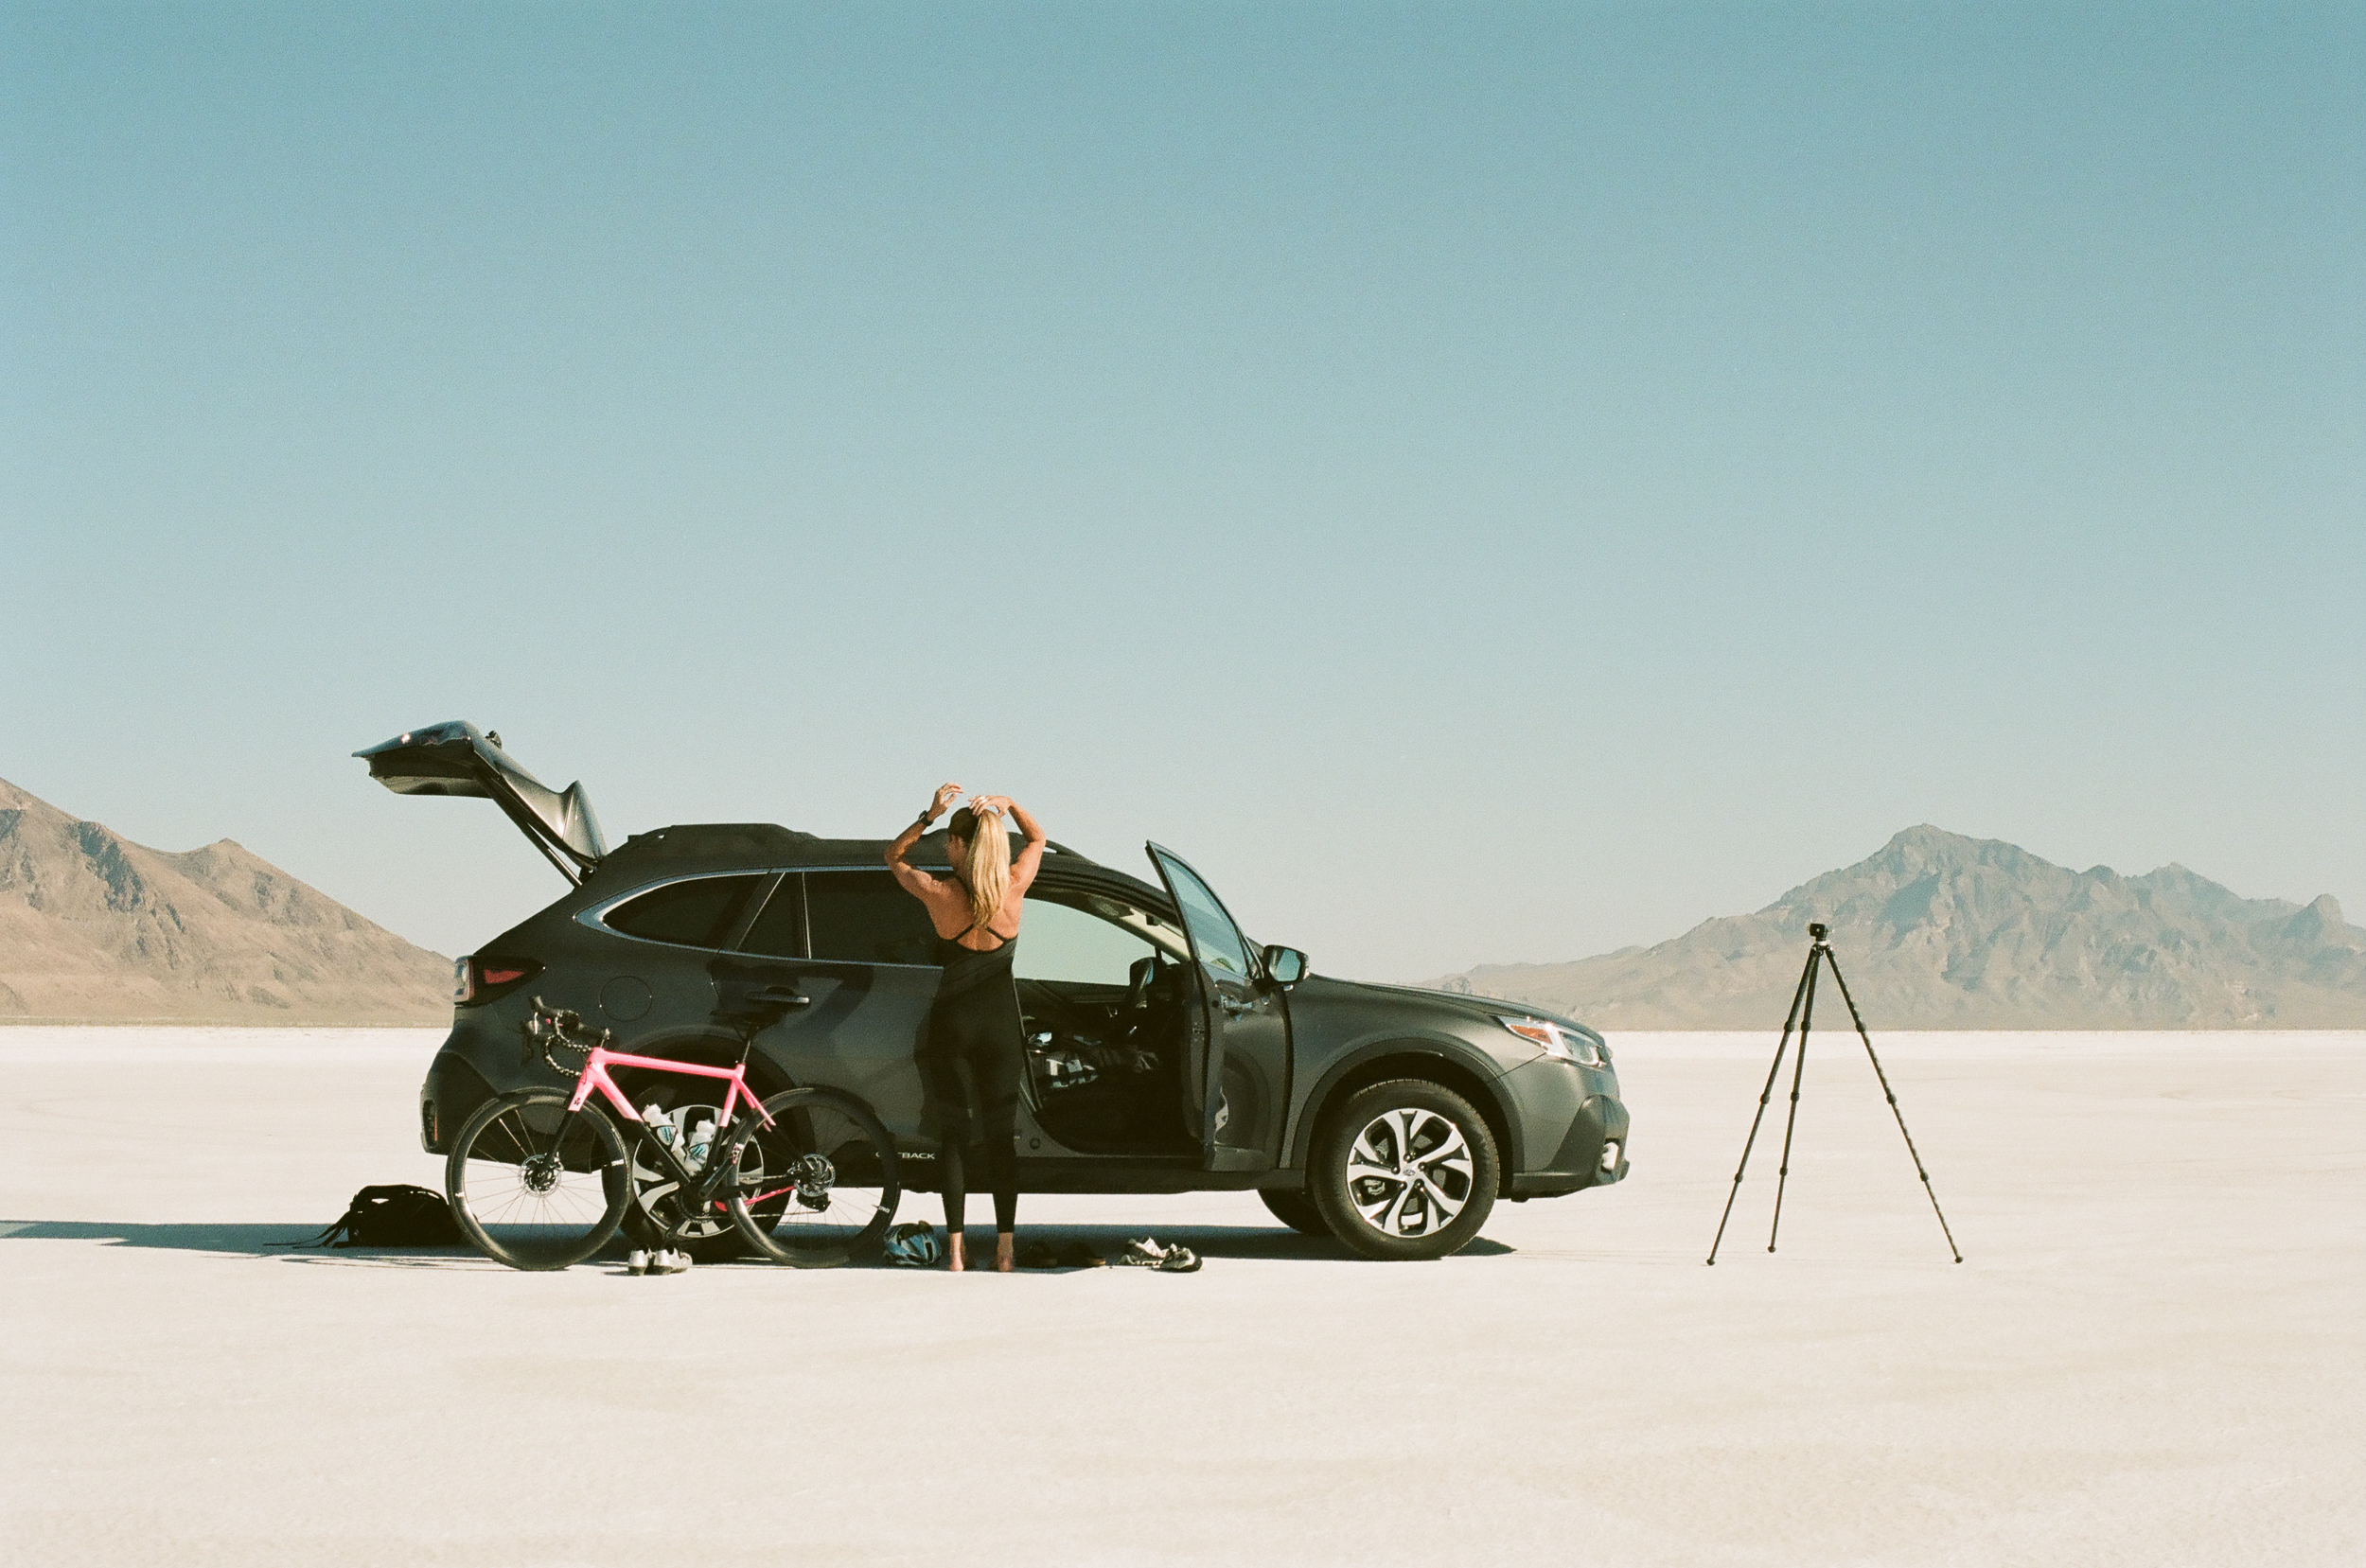
A few more sample images